
Ya estamos en el reto 33 de 3flowers-retos de tarjetas, y con éste, Andrea ha conseguido que experimente y acabe con los dedos verdes un par de dias. Pero y lo bien que me lo he pasado, eh? jeje. Aquí va mi tarjeta:

For this challenge you have to choose one line of the bingo card, and use those three things in your card. I used Sew, Mix Media and Button.
Este reto consiste en elegir una linea del carton de bingo y utilizar esas tres cosas en tu tarjeta. Yo me quedé con Coser, Mix Media y Botón.
Este reto consiste en elegir una linea del carton de bingo y utilizar esas tres cosas en tu tarjeta. Yo me quedé con Coser, Mix Media y Botón.

I started with watercolor paper and Dylusions sprays, and I mixed them on the paper until I was happy with the result. I used paper to remove some of the green color, so you could see the vibrant yellow a bit better, and I dried it with the heat gun.
Using the "Mini Cubist" Stencil, I sprayed some water and removed the color using paper. Here you can see it a bit better:
Empecé con papel de acuarela y los Dylusions sprays, y los fuí mezclando en el papel hasta que me gusto el resultado. Lo genial de estos sprays, es que los colores se mezclan perfectamente, y puedes quitar color utilizando papel de cocina. Así que quité un poco de verde, para que se viera el amarillo, y lo sequé con la pistola de calor.
Utilizando un stencil (plantilla) de cuadritos, añadí un poco de agua, y quité el color con papel. Aquí se puede ver un poco mejor:
 You can see that I used Picket Fence distress stain on some of the borders too.
I wanted to add some washi, and I finally used the one from Tim Holtz that has been sitting in a drawer for the past year.
Using the "Mini Art" stencil and white embossing paste that I colored with some "Vibrant Turquoise" dylusion spray, I added the raised words on the corners.
También puedes ver que añadí Distress Stain en Picket Fence en algunos bordes.
Quería añadir alguna cinta washi, y por fin he usado la de Tim Holtz que llevaba en el cajón desde el año pasado.
Utilizando la plantilla "Mini Art" y pasta de embossing blanca mezclada con unas gotas de spray Dylusion en "Vibrant Turquoise", añadí las palabras en relieve en las dos esquinas:

 For the other corner, using the "Bubbles" stencil and distress stains "walnut stain" and "picket fence" I added the brown dots. I dried it, placed the stencil again and added some white embossing paste over it. I love how the paste picks up color from whatever ink is underneath, so it changes color:
Using the "Mini Cubist" Stencil, I sprayed some water and removed the color using paper. Here you can see it a bit better:
Empecé con papel de acuarela y los Dylusions sprays, y los fuí mezclando en el papel hasta que me gusto el resultado. Lo genial de estos sprays, es que los colores se mezclan perfectamente, y puedes quitar color utilizando papel de cocina. Así que quité un poco de verde, para que se viera el amarillo, y lo sequé con la pistola de calor.
Utilizando un stencil (plantilla) de cuadritos, añadí un poco de agua, y quité el color con papel. Aquí se puede ver un poco mejor:
I wanted to add some washi, and I finally used the one from Tim Holtz that has been sitting in a drawer for the past year.
Using the "Mini Art" stencil and white embossing paste that I colored with some "Vibrant Turquoise" dylusion spray, I added the raised words on the corners.
También puedes ver que añadí Distress Stain en Picket Fence en algunos bordes.
Quería añadir alguna cinta washi, y por fin he usado la de Tim Holtz que llevaba en el cajón desde el año pasado.
Utilizando la plantilla "Mini Art" y pasta de embossing blanca mezclada con unas gotas de spray Dylusion en "Vibrant Turquoise", añadí las palabras en relieve en las dos esquinas:
Para la otra esquina, utilizando la plantilla "Bubbles" de Tim Holtz y Distress Stain en "walnut stain" y "picket fence" añadí los puntos marrones. Despues volví a colocar la plantilla y con pasta de embossing blanca añadí los puntos en relieve. Lo que me encanta de esta pasta, es que si la pones encima de las tintas y sprays que he utilizado, cambia al color que tenga debajo, por lo que los puntos van cambiando de color:
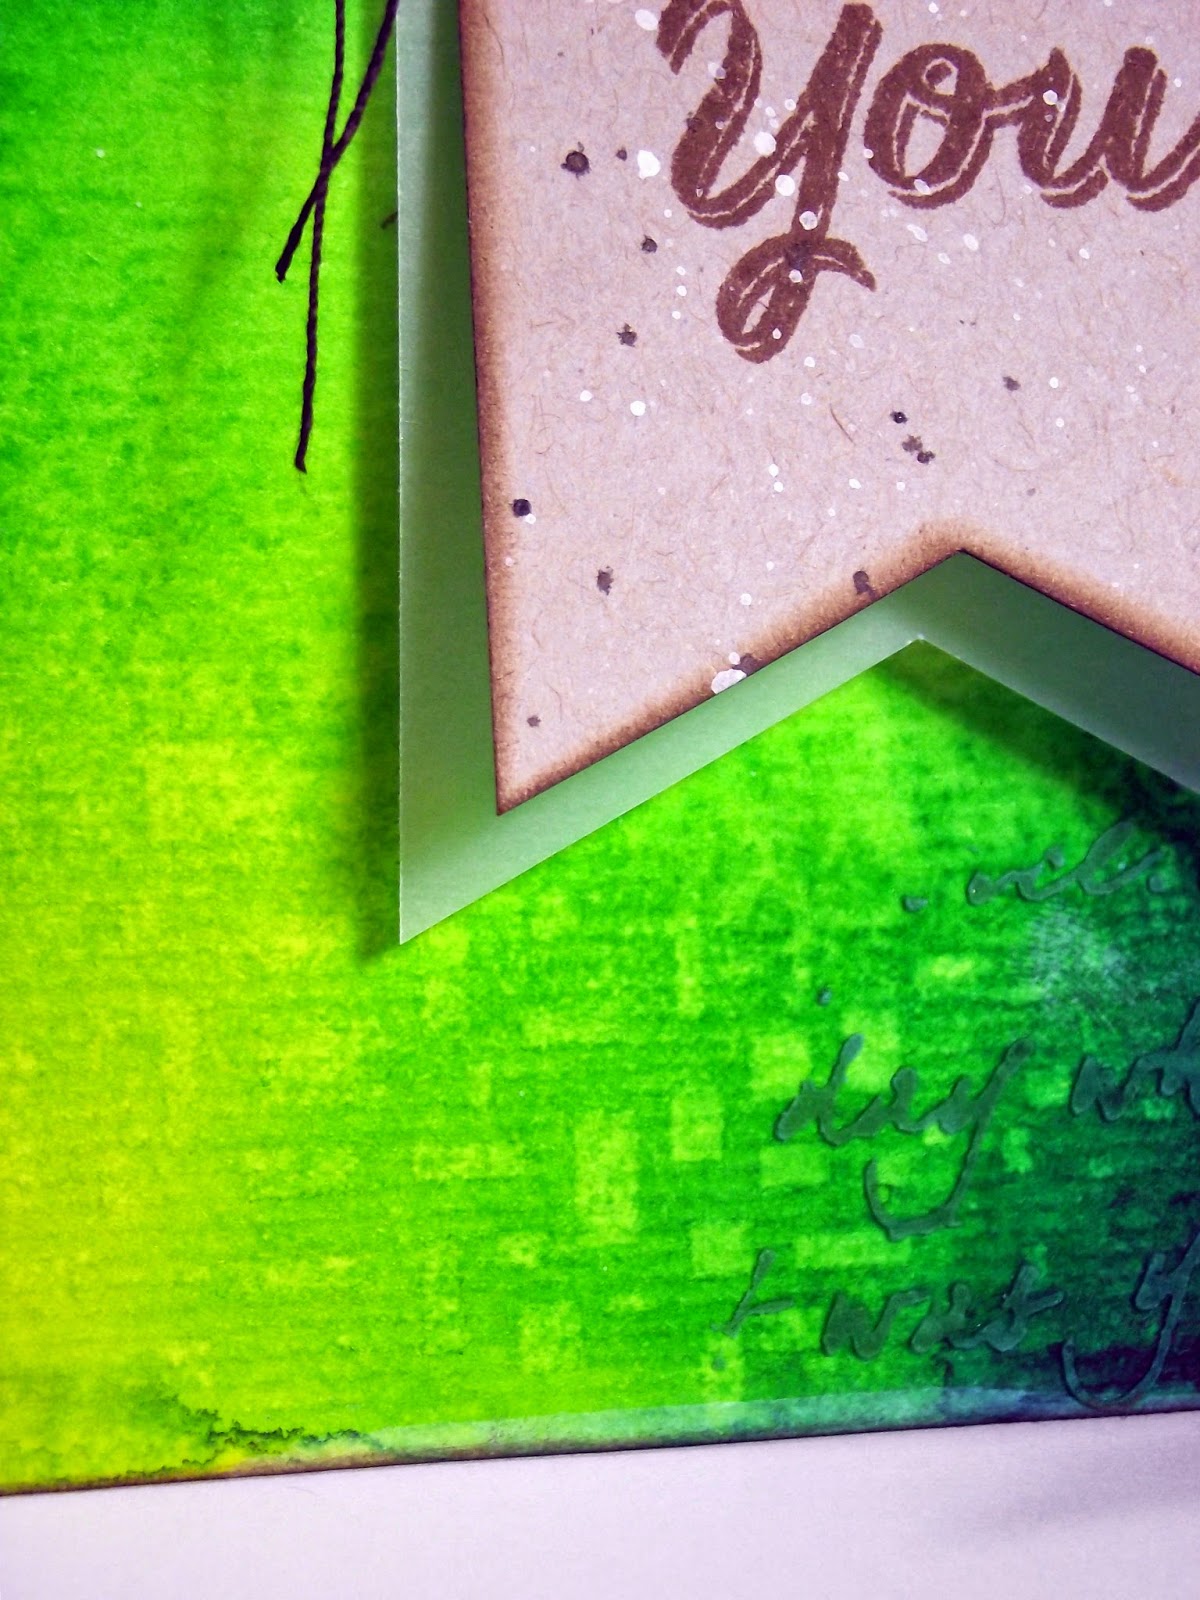
 And once the mix media panel was finished, I made a banner with Kraft paper. Stamped the "Thank you", with a brush, I added some white and brown splatters, and I distressed the edges with "gathered twigs" distress ink.
I cut a banner from vellum slightly bigger than the first one, and I sewed them onto the mix media panel, adding a brown button.
Buff! That was a long explanation! If you made it all the way to the end of this post, you are a true champion, because this mix media projects have many steps and it takes ages to explain them all. I hope you liked the card and you get some time to play along with the challenge. And don't forget to stop by the blog, because the rest of the DT made some incredible cards for you.
Y despues de terminar el panel de mix media, creé el banderín con papel kraft. Estampé el "Thank You", con un pincel añadí salpicaduras en blanco y marrón y con tinta distress en "gathered twigs" coloreé los bordes.
Corté otro banderin en vellum un poco más grande, y los cosí al panel mix media, añadiendo un botón marrón.
Buff! ¡Cuantas explicaciones! Si has llegado hasta aquí, eres toda una campeona, porque es que esto del mix media tiene tantos pasos, que lleva un buen rato explicarlo todo. Espero que te haya gustado y que te animes a participar en el nuevo reto. Y pasaté por el blog, que el resto de las chicas han hecho unas pedazo tarjetas increibles.
 Thanks for stopping by!
¡Gracias por pasarte por aqui!
I cut a banner from vellum slightly bigger than the first one, and I sewed them onto the mix media panel, adding a brown button.
Buff! That was a long explanation! If you made it all the way to the end of this post, you are a true champion, because this mix media projects have many steps and it takes ages to explain them all. I hope you liked the card and you get some time to play along with the challenge. And don't forget to stop by the blog, because the rest of the DT made some incredible cards for you.
Y despues de terminar el panel de mix media, creé el banderín con papel kraft. Estampé el "Thank You", con un pincel añadí salpicaduras en blanco y marrón y con tinta distress en "gathered twigs" coloreé los bordes.
Corté otro banderin en vellum un poco más grande, y los cosí al panel mix media, añadiendo un botón marrón.
Buff! ¡Cuantas explicaciones! Si has llegado hasta aquí, eres toda una campeona, porque es que esto del mix media tiene tantos pasos, que lleva un buen rato explicarlo todo. Espero que te haya gustado y que te animes a participar en el nuevo reto. Y pasaté por el blog, que el resto de las chicas han hecho unas pedazo tarjetas increibles.
¡Gracias por pasarte por aqui!
Supplies:


Tu tarjeta es increíble a primera vista, alucinante vista de cerca e irreal cuando cuentas todo lo que has hecho paso a paso!!! Wow! Me he quedado con la boca abierta al leer todos los detalles y técnicas utilizadas. Eres increíble porque tienes una técnica y creatividad geniales!!! Enhorabuena!
ReplyDeleteHablando en plata... qué currada! He de decir que esta targeta me parece espectacular: la combinación de colores, de los diferentes stencils y el uso que le has dado a la pasta de embossing, me ha encantado!
ReplyDeleteBesitos!
Me encanta. Adoro incluir técnicas mixed media en las tarjetas. Se convierten en pequeñas obras de arte. Y esta, sin dudas, lo es. Felicidades
ReplyDeleteI love 'all' of your cards, Cris...but, I have to say this is my all time favorite! I keep scrolling back up to look at all the dimension and how you played with your inks and stencils and die cuts...WOW!
ReplyDeleteThanks so much for all the details about how you created this stunning work of art!!!
Te quedo génail, me encanta experiemntar con titnas y texturas, ese verde se ve super
ReplyDeleteThere is SHOCKING news in the sports betting world.
ReplyDeleteIt has been said that every bettor must watch this,
Watch this or stop betting on sports...
Sports Cash System - Automated Sports Betting Software