Showing posts with label thanks. Show all posts

Thursday, April 23, 2020

Tarjeta con Peonías... Card full of peonies

Sigo enseñando por aquí tarjetitas, y hoy vengo cargada de flores. Utilicé el nuevo set de troqueles "Peonías" para crear esta tarjeta:

Continuing with the cards that I haven't shared around here, today I bring lots of flowers. I used the new die set "Peonías" to create this card:

Le dí mucha dimensión a las flores con la paleta de colores y con los diferentes dimensionales que utilicé para ponerlas en el frente de la tarjeta:

I gave it a lot of dimension with the different cardstocks and the different dimensionals I added to the back of the flowers:
Aquí os dejo el vídeo de todo el proceso:

Here is the video of the entire process:


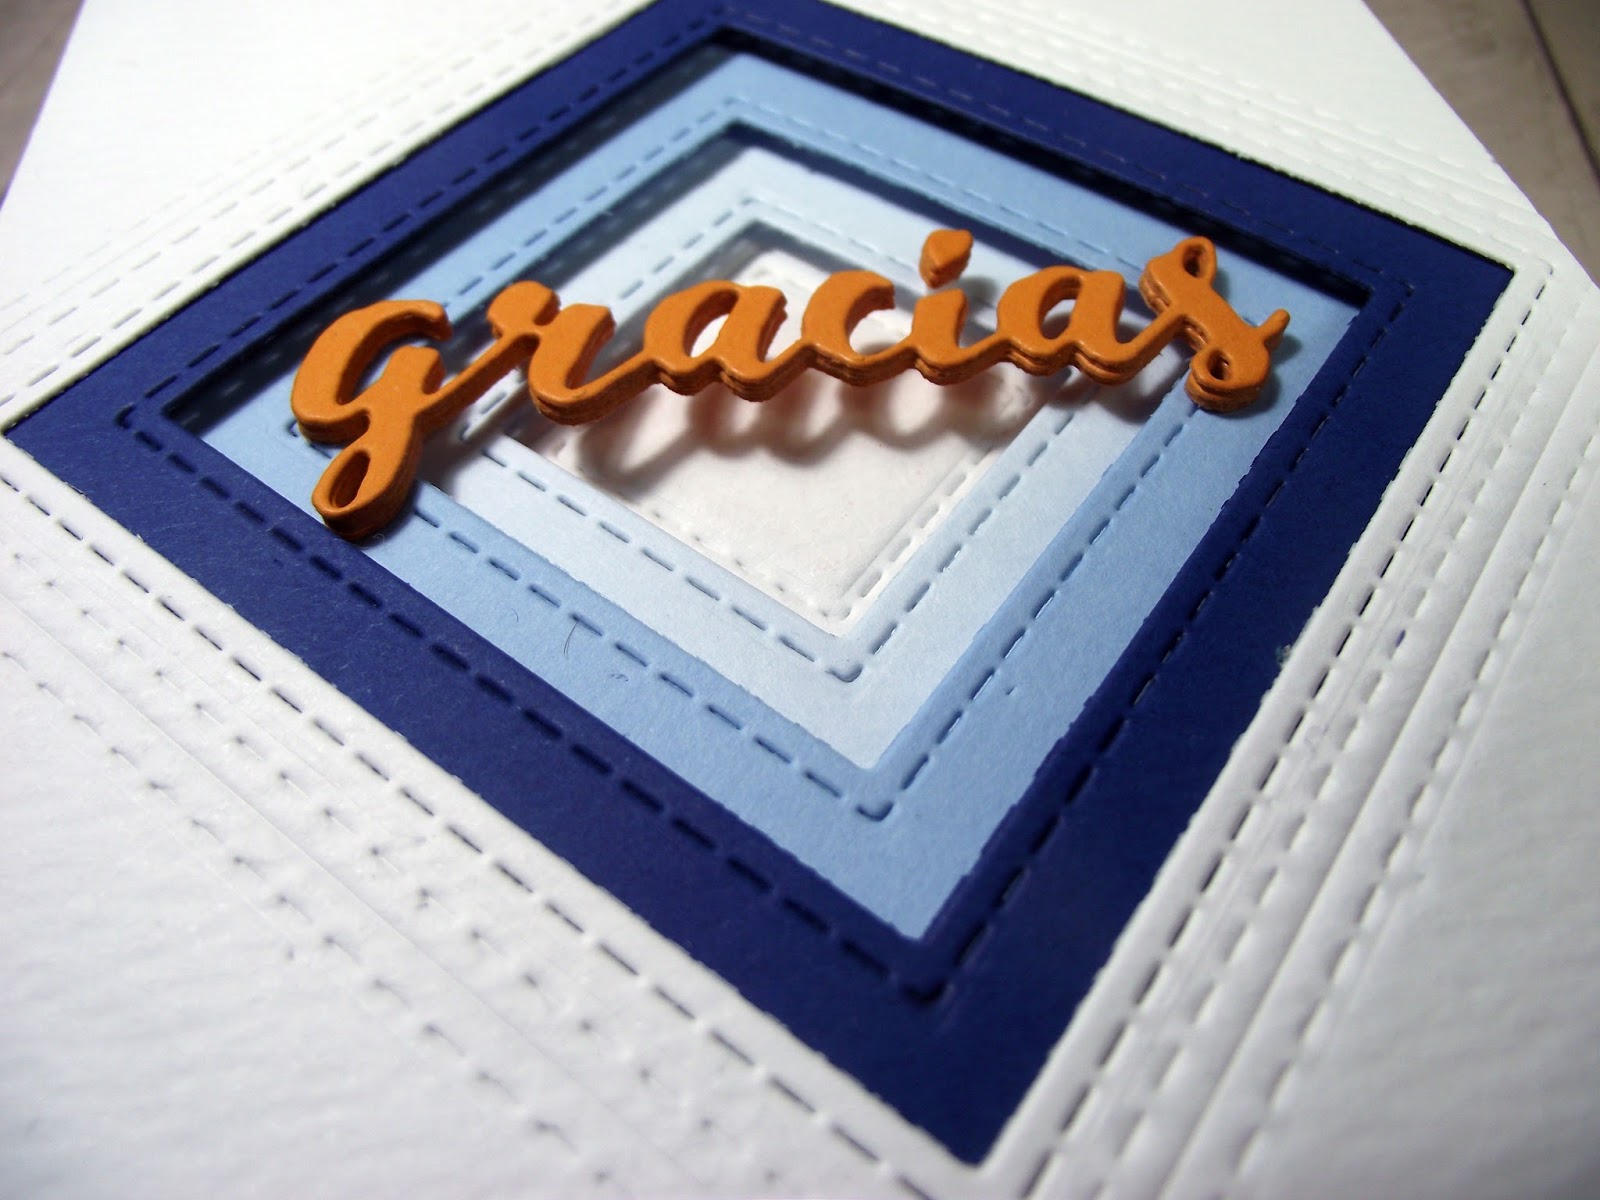
Para el mensaje utilicé la técnica del troquelado parcial para integrar el "Gracias 2" en la tira de vellum:

For the message I used the parcial die cutting technique to integrate the "Gracias 2" in the vellum stripe:
Y esto es todo por hoy! Que tengáis un buen día y gracias por haberos pasado por aquí! Besitosss!

And that's all for today! Have a great day and thanks for stopping by! x

Productos Utilizados:
Supplies:
Peonías set de troqueles
Comprar en:
LPC
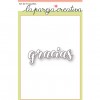
Gracias 2 set de troqueles
Comprar en:
LPC
Mini Alfas troqueles
Comprar en:
LPC
Vellum
Vellum
Comprar en:
SSS
Pack Cartulina
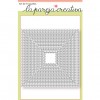
Pack Cartulina
Comprar en:
KIM
Neenah White Cardstock
Comprar en:
SSS
Tape Runner
Tape Runner
Comprar en:
SSS
Foam Squares
Foam Squares
Comprar en:
SSS
Quickie glue
Quickie glue
Comprar en:
SSS
Guillotine 6 inch
Guillotine 6 inch
Comprar en:
SSS
Cuttlebug
Cuttlebug
Comprar en:
SSS

Tuesday, August 1, 2017

Nuevo reto en LPC... New challenge at LPC

Como va vuestro verano? Por aqui estoy disfrutando de él al máximo, y la verdad es que tengo el blog bastante abandonado. Tengo alguna que otra cosilla que compartir por aqui, pero hoy toca nuevo reto en La Pareja Creativa, y vengo a enseñaros mi tarjeta:

How is your summer going? Here we are enjoying it as much as we can, so the blog has been neglected once more. I have a few things to share here, but today I'm here with the latest challenge from La Pareja Creativa, and here is my card:
Este mes el reto es una foto inspiración que a mi por lo menos me encantó:

This month the challenge is a photo inspiration that I loved as soon as I saw it:
Creo que esta bastante claro en lo que me he inspirado con mi tarjeta, pero por si acaso, las hortensias, esa cesta tan bonita, los colores suaves, el marco, y las letras blancas :-)
Para crear la hortensia, he utilizado diferentes troqueles de flores de LPC, aunque las que mas se ven son las del set de Fresas, que son las que quedan por encima. Las troquelé de papel acuarelable que habia coloreado con tintas distress y distress oxide.

I think it's pretty clear how the picture inspired the card, but just in case, the hydrangeas, the cute basket, the soft colors, the frame and the white letters :-)
To create the hydrangea I used different flower dies from LPC, but the only ones you can really see, are the ones on top, from the Fresas set. I die cut them out of a watercolor cardstock that I had colored with distress, and distress oxide inks.
Las hojas también son del set de Fresas, y enmarqué la hortensia utilizando dos de los cuadrados del set Cuadrados Cosidos. 
Le dí textura al fondo utilizando una carpeta de embossing con dibujo de cesta, y para el mensaje, un troquel de gracias en blanco.

The leaves are from the die set Fresas, and I framed the flower using two of the square dies in the Cuadrados Cosidos set.
I gave texture to the card base using an embossing folder that looks like a basket, and for the message I used white cardstock and the gracias die.
Pues ya sabeis que teneis todo el mes para participar en el reto, animaros!!! Y no os olvideis de pasar por el blog, a ver las cositas tan bonitas que os han preparado mis compis:

You have all month to play along with the challenge, so go join us!!! And don't forget to stop by the blog, you can't miss the beautiful projects from the rest of the girls:
Ala! Ahora a disfrutar del verano, que es lo que toca :-) Muchas gracias por pasaros por aqui hoy! Un besito!

Now it's time to enjoy summer to the fullest :-) Thanks for stopping by today! x


Productos Utilizados:
Supplies:
Fresas
Fresas
Comprar en:
LPC
Decora con Flores tr.
Comprar en:
LPC
Gracias
Gracias
Comprar en:
LPC
Cuadrados Cosidos
Cuadrados Cosidos
Comprar en:
LPC
Distress cardstock
Distress cardstock
Comprar en:
SSS
Neenah White Cardstock
Comprar en:
SSS
Green Apple Cardstock
Comprar en:
SSS
Mini mister
Mini mister
Comprar en:
SSS
Worn Lipstick oxide
Worn Lipstick oxide
Comprar en:
SSS
Worn Lipstick Distress Ink
Comprar en:
SSS
Yellow Rhinestones
Yellow Rhinestones
Comprar en:
SSS
Tacky glue
Tacky glue
Comprar en:
SSS
Foam Squares
Foam Squares
Comprar en:
SSS
Cuttlebug
Cuttlebug
Comprar en:
SSS
Woven Embossing Folders
Comprar en:
SSS

Thursday, March 2, 2017

Reto de Marzo... March challenge

Ayer comenzaba el nuevo reto en La Pareja Creativa y vengo a enseñaros mi tarjeta:

Yesterday it was the start of the new challenge at La Pareja Creativa and I'm here to show you my card:
El tema del reto es Geometrico, y aunque mi primera idea era utilizar los nuevos "Corazones Brillantes" me decidí por los cuadrados y muuuucha dimensión. En las cartulinas blancas, además de troquelar los "Cuadrados Cosidos", los utilicé también para embossing con la alfombrilla de silicona.

The theme of the challenge is Geometric, and at first I thought of using the new set "Corazones Brillantes" but I went with the squares and lots of dimension. In the white cardstocks, I die cut and embossed the "Cuadrados Cosidos" using a silicone pad.
Y para el sentimiento, troquelé el "Gracias" varias veces y las pegué juntas para que pudiera flotar sobre los cuadrados sin doblarse.

And for the sentiment, I die cut the "Gracias" a few times and I glued them together so it would be sturdier and float over the squares without bending.
Espero que os animeis a participar ya que teneis todo el mes de Marzo y el tema del reto es genial! Y pasaros por el blog para ver las tarjetas de mis compis... son una pasada!!!!

I hope you'll join us as you have till the end of the month and the theme is great! And stop by the blog to see what the rest of the girls made... amazing!!!!
Y esto es todo por hoy! Muchas gracias por haberos pasado hoy por aqui! Besitossss!

And that's all for today! Thanks so much for stopping by! xx

Productos Utilizados:
Supplies:

Thursday, November 26, 2015

SSS card kit... Kit tarjetero SSS

Happy Thanksgiving to everyone that's celebrating it!
Today I'm back with a card using the November card kit from Simon. I'm so happy that I don't have to use it anymore ;-) Today's card is a bit weird, and I'm not sure I really like it, but I wanted to use the die cuts from the kit, and this is the result:

¡Feliz Accion de Gracias a todos los que lo esten celebrando!
Hoy estoy de vuelta utilizando el kit de Noviembre de Simon. Me hace tanta ilusion no tener que volver a usarlo ;-) La tarjeta de hoy es un poco raruna, y no estoy muy segura de que me guste, pero queria utilizar uno de los die cuts que venian en el kit y este ha sido el resultado:
Because of what people are celebrating today, I decided to make a "Thank you" card. And I used that cute squirrel, creating a little scene. 
I started with one of the card bases from the kit, then I glued down the leafy paper from the kit. Using the green cardstock I die cut some grass, and a frame from white cardstock using the "Rectangulos Cosidos A6" from LPC.
I blended some distress inks over the background to create the sky. And for the sentiment, a little strip of brown cardstock with the message from the stamp set.
I added some dimension, so the card wouldn't be so simple:

Por lo que la gente esta celebrando hoy, me decidí a hacer una tarjeta de "Gracias". Y he utilizado esa ardillita tan mona para crear una pequeña escena.
Comencé con una de las bases de tarjeta del kit, y lo cubrí con uno de los papeles decorados que venian en el kit. Utilizando la cartulina verde, troquelé la hierba, y un marco de cartulina blanca con los "Rectangulos Cosidos A6" de LPC.
Creé el cielo con tintas distress, y para el mensaje, una tira de cartulina marron y uno de los sellos del set que viene en el kit.
Le dí dimension a la escena para que no quedara una tarjeta tan simple:
I'm so happy to see this kit go, and now I can't wait for the December kit and Christmas cards! So bye bye ;-)

No sabeis la ilusion que me hace decirle adios a este kit, y deseando que me llegue el kit de Diciembre y a por las tarjetas Navideñas! Asi que hasta la vista ;-)
And now it's your turn to jump around with the rest of the girls, so you don't miss the beautiful cards they made for this hop:

Y ahora es vuestro turno de saltar por los blogs de las chicas, para que no os perdais las tarjetas tan geniales que habran preparado:

Anna, de Full d'Scrap

Thanks for stopping by today!xx

¡Gracias por acompañarme hoy! Un besazo!

Supplies:
Productos Utilizados:

LinkWithin

Related Posts Plugin for WordPress, Blogger...