Showing posts with label Avery Elle. Show all posts

Wednesday, April 25, 2018

Otra vez Navidad... Christmas again

Holaaa!
Como cada día 25 de cada mes, hoy os traigo una nueva tarjeta navideña que no creo que hayáis visto. La creé estas pasadas navidades para uno de los retos de Facebook de Todo con Papel, pero no la había compartido en ningún otro sitio, así que a ver si os gusta!

Hey!
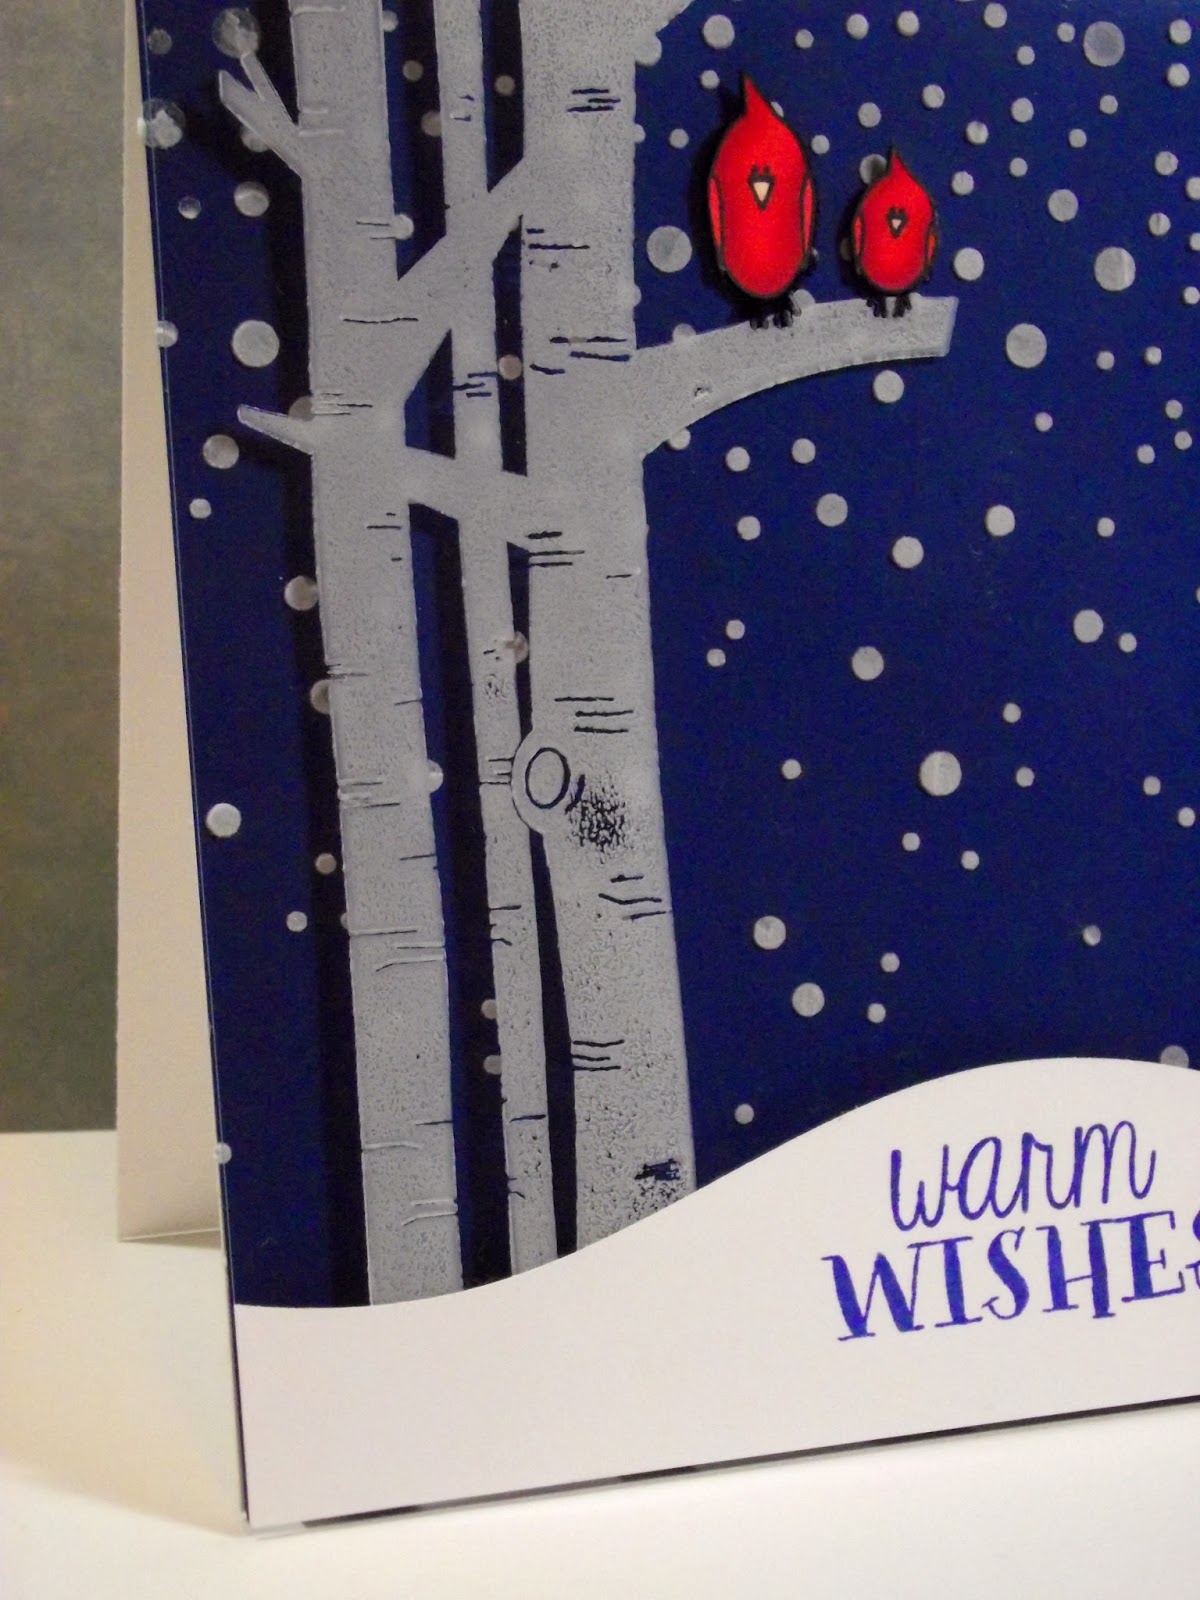
Like every 25th of every month, I'm here with another Christmas card that I don't think you've seen. I created it for a Facebook challenge by Todo con Papel, but I don't think I shared it anywhere else, so I hope you like ti!
Por si no lo sabéis, Todo con Papel tiene diferentes retos cada semana los últimos meses del año. Están super bien y aunque mi intención era la de participar en todos ellos... como siempre, no me dio tiempo y al final solo participé en dos. 
Pero bueno, la verdad es que esta tarjeta me encanta como quedó, con la dimensión de la estrella, y esa combinación de colores que aunque no es nada navideña, a mi me chifla ;-)

Just in case you don't know this, Todo con Papel has some challenges every week the last couple of months of the year. They are great and my intention was to play along with all of them, but I just run out of time and only did a couple.
I love how this card turned out, with the dimension from the star, and that color combo that's not Christmassy, but it's one of my faves :-)
Para crear esa estrella, la estampé y corté a mano tres veces. Después doble cada una por la mitad y las pegue para crear ese efecto 3D. Es algo muy fácil de crear con sellos o troqueles que sean simétricos, y le dan un toque diferente a las tarjetas.

Y esto es todo lo que os traigo hoy, así que nos vemos de nuevo el mes que viene con otra tarjeta navideña!!! Pasad buena semana!!! Besitosss!

To create the star, I stamped it and fussy cut it three times. Then I scored them through the middle and glued them together to create the 3D effect. It's a simple thing to do with your simetrical stamps or dies and it looks great in your cards.

And that's all for today, but I'll be back next month with another Christmas card!!! Have a great week!!! x

Productos Utilizados:
Supplies:


Osos Amigos sellos
Osos Amigos sellos
Comprar en:
LPC
Mensajes Festivos Sellos
Comprar en:
LPC
Simply tags
Simply tags
Comprar en:
AE
Neenah White Cardstock
Comprar en:
SSS
Black Marker Memento
Comprar en:
SSS
Memento Black
Memento Black
Comprar en:
SSS
Mini Misti
Mini Misti
Comprar en:
SSS
Tacky glue
Tacky glue
Comprar en:
SSS

Friday, July 17, 2015

The magazine... La revista

Last friday was the last post of the season at 3flowers-retos de tarjetas, and Andrea had to finish it with something special... an amazing magazine!!!
She's been working on it for months, and it's full of information, with tutorials, interviews to get to know the DT better... It's incredible! From me, you get the tutorial of this card, that was the one I made for my "ombre" challenge:

El viernes pasado fue la ultima entrada de la temporada de 3flowers-retos de tarjetas, y Andrea tenia que terminarla con algo super especial... una increible revista!!!
Llevaba con la idea meses y ha puesto mucho curro en ella estas ultimas semanas. Esta llenita de informacion, con tutoriales, entrevistas con las chicas del DT para conocernos un poquito mejor... una pasada! En mi caso, el tutorial es de esta tarjeta, que hice para mi reto "gradiente":
So check it out and remember that there's a challenge open all summer, in case you want to participate :-)

Asi que pasad a echar un vistazo a la revista, y acordaros que teneis un reto abierto durante todo el verano, por si os animais a participar :-)
Thanks for stopping by and enjoy the weekend! x

¡Gracias por pasaros por aqui y que disfruteis del fin de semana! Un besito!

Thursday, January 1, 2015

Happy New Year... Feliz Año Nuevo

I just wanted to stop by and wish you all a very Happy New Year! And what better way to do it, than with a card ;-)

Queria pasarme por aqui para desearos un muy Feliz Año Nuevo! Y que mejor manera que con una tarjeta ;-)
I had some fun with a new paper pad, a new numbers die and lots of glitter! 

Me he divertido con nuevos papeles, un troquel de numeros nuevo y papel de purpurina!
And like the card says... I hope in 2015, all your dreams come true!
Thanks for stopping by! x

Y como dice la tarjeta... espero que en el 2015 todos vuestros sueños se hagan realidad!
¡Muchas gracias por pasar por aqui! Un besito!

Friday, December 5, 2014

The start of Christmas... Comienza la Navidad

I know the title of this post must be confussing, specially cause I've been sharing Christmas cards for over a month here. But finally, it's time for Christmas cards at 3flowers-retos de tarjetas. For the month of December, things will be a bit different. There will be a new theme weekly, but they will not be challenges as usual. There will be no voting, and no flowers, but lots of inspiration and fun, so we hope you join us.
Here is my card for this first week:

Ya se que el titulo de esta entrada tiene que pareceros un poco raro, especialmete porque llevo ya mas de un mes compartiendo tarjetitas navideñas por aqui. Pero finalmente, ha llegado la hora de las tarjetas navideñas a 3flowers-retos de tarjetas. Durante el mes de Diciembre todo va a ser un poco diferente por alli. Va a haber un nuevo tema cada semana, pero no seran retos como tal. No habra votos, ni flores, pero mucha inspiracion y diversion, asi que esperamos que nos sigas acompañando.
Aqui esta mi tarjeta para esta primera semana:
The theme for this "no-challenge" is STARS + NEWSPAPER (or a page from a book).
I decided to create an ornament (I love them!) on my card. So I gold embossed 3 stars from Avery Elle, hand cut them, scored them in the middle and glued them together. I love how it looks!

El tema de este "no-reto" es ESTRELLAS + PAPEL DE PERIODICO (o la pagina de un libro)
Me decidí por crear un adorno navideño (¡me encantan!) en mi tarjeta. Asi que embossé con polvos dorados de purpurina 3 estrellas de Avery Elle, las recorté, las doblé por la mitad, y las pegue juntas. ¡Queda super chulo!
I used a book page for the background, that I distressed with scissors and distress inks. And then I stamped the sentiment randomly and some stars. I added a strip of brown paper and the bow, that I coevered with gold glitter.
This is normally not my style, but I'm happy with how it turned out!
So make some time this Christmas to play along with us at 3flowers-retos de tarjetas ;-)

He utilizado una pagina de libro , que he envejecido con una tijeras y tintas distress. Entonces, he estampado la frase al tun-tun y tambien unas estrellitas. Despues añadí la tira de cartulina marron y el lazo que he cubierto con purpurina dorada.
Este normalmente no es mi estilo, pero me gusta como ha quedado!
Asi que esperamos que estas Navidades saqueis un momento para participar con nosotras en 3flowers-retos de tarjetas.
Thanks for stopping by! x

¡Gracias por pasarte por aqui! Un besito!

Friday, December 6, 2013

Acetate card... Tarjeta con Acetato

In today's card I've used a lot of new things, and I love them all:

En la tarjeta de hoy he utilizado un monton de cosas nuevas, y me encantan todas:
I used the embossing paste with the stencil, and I love how it looks over the blue cardstock. Then I stamped the trees with StazOn over the acetate and I added the colored birds. I used the Paper Smooches border die to create the snow bank. The acetate piece is glued at the top, and on foam dimensionals at the bottom, here is a close up:

Utilice la pasta de embossing con la plantilla de "Falling Snow", y me encanta como queda sobre la cartulina azul. Despues estampe los arboles con tinta StazOn blanca en el acetato y añadi los pajaros coloreados. Para crear el monticulo de nieve, he utilizado uno de los troqueles de bordes de Paper Smooches. El acetato esta pegado en la parte de arriba y en dimensionales de espuma abajo, aqui lo puedes ver mejor:
Thanks for stopping by!

Gracias por pasarte por aqui!

Supplies:

Tuesday, November 12, 2013

You're Awesome... Eres Increible

Today I have a quick post for you, sharing a card with some Avery Elle goodies:

Hoy esto va a ser rapido, asi que aqui esta una tarjeta utilizando uno de los sets de Avery Elle:
I love this Simply Tags set from Avery Elle, so many possibilities! Specially if you use the dies too ;-)
Just lots of stamping on this one, so if you have any questions, just leave them in the comments, please.

Before I go, don't forget to stop at A Blog Named Hero to check the rest of the event, but if you haven't commented on yesterday's post yet, you better do it, cause you could win the December card kit from Simon Says Stamp!

Me encanta el set de "Simply Tags" de Avery Elle, tiene tantas posibilidades! Especialmente si se utiliza con los troqueles ;-)
En esta tarjeta solo utilizo la estampacion y un troquel, asi que si tienes alguna pregunta, dejamela en los comentarios, porfi.

Antes de irme, no te olvides de pasarte por A Blog Named Hero para ver el resto del evento, y si aun no has comentado en el dia de ayer, corre ahora mismo, porque podrias ganar uno de los kits de Diciembre de Simon Says Stamp!
Thanks for stopping by!

Gracias por pasarte por aqui!


Supplies:


Monday, November 11, 2013

Gifts at ABNH... Regalos en ABNH

Hi everyone!
Today is the first day of Gifts week at A Blog Named Hero, so get ready for a lot of presents that you can make yourself.

Hola a todos!
Hoy es el primer dia de la semana de los Regalos en A Blog Named Hero, asi que preparate para ver un monton de regalos que puedes hacer tu misma.
I decided to try something I've been wanting to make for a while. I use some stamps on clay to make pendant and earrings:

Decidi probar algo que llevaba tiempo queriendo intentar. Utilice sellos para estampar en arcilla y hacer asi unos colgantes y unos pendientes:
I made some packaging to go along with the pendant or earrings, using the same stamp.
The tecnique is very simple. You take the clay and you condition it by rolling it around in your hands. Then you flatten it, and using a stamp covered in versamark you stamp it. That way you avoid the clay sticking to your stamp. Then you cut it using a cookie cutter and you pierce a hole through the clay.
I used air drying clay, so I just left it for 24 hours, but if you use polymer clay, like Fimo, you have to dry it in the oven.
Once they were dry, I used some silver paint to color different parts of each design, and covered them with a coat of glossy accents.
Here are some close ups:

Tambien he hecho unas cajitas para acompañar a los regalos, utilizando el mismo sello.
La tecnica que he utilizado es muy sencilla. Empiezas preparando la arcilla, trabajandola con las manos. Despues la estiras con un rodillo y utilizando un sello cubierto de versamark, lo estampas. De esta manera, evitas que la arcilla se te quede pegada al sello. 
Entonces la cortas utilizando un cortapastas, y haces un agujero en la arcilla.
Yo he utilizado arcilla de secado al aire, asi que la deje durante 24 horas, pero si utilizas otra arcilla, del tipo de Fimo, tendras que secarla en el horno.
Una vez seca, utilice pintura plateada para colorear diferentes partes en cada diseño, y los cubrí con una capa de glossy accents.
Aqui puedes verlos mas de cerca: 
For this one I used purple clay, so I added some silver paint to the stamped stars.

Para este colgante, he utilizado arcilla morada, asi que coloreé las estrellas con la pintura plateada.
For this one I used red clay and used the silver dubber over the top, carefully so not paint got inside the stamped image.

Con este colgante utilice arcilla roja y pase la esponja del aplicador de la pintura plateada por encima, con mucho cuidado, para que no se metiera en las ranuras de la imagen estampada.
And finally I made the earrings out of grey clay, and once it was dry, I painted them using a sponge to apply aqua and silver paint. I let it dry, and using black versafine, I inked the raised lines and embossed them with clear powder. Finished it with a coat of glossy accents.

Y finalmente, para los pendientes, utilice arcilla gris, y una vez se secó, utilice una esponja para aplicar pintura turquesa y plateada. Despues lo dejé secar, y aplicando tinta negra versafine, coloree las rayas creadas con el sello y añadi polvos de embossing transparentes. Los terminé con una capa de glossy accents.

So that's how I made my gifts for the event, I hope you give it a go, and don't forget to stop by the blog to see what some of the DT and the amazing guest designers have for you.
Thanks for stopping by!

Asi que estos son mis regalos para el evento, y si intentas hacerlos, o ya los has hecho y tienes algun truquillo, no dudes en dejarmelo en los comentarios. No te olvides de pasar por el blog para ver lo que algunas de las chicas del equipo y las increibles invitadas han hecho para ti.
Gracias por pasarte por aqui!

Supplies:


LinkWithin

Related Posts Plugin for WordPress, Blogger...