Today we start the "last" challenge of the season over at 3flowers-retos de tarjetas. There're still a couple of surprises left, but this will be the last of the challenges. This time it's Ana Manzana's turn, and I couldn't be happier, cause I love her! We met at La Pareja Creativa's DT, and she's just great! She's a great scrapbooker, and if you didn't know her before, you can see some of her amazing LOs in the challenge post.
But anyway... she's asking us to use any other scrap supplies to create the look of watercolor, and this is what I made:
Hoy comienza el "ultimo" reto de esta temporada en 3flowers-retos de tarjetas. Aún le quedan un par de sorpresas en la manga a Andrea, pero este será el último reto. Esta vez es el turno de Ana Manzana, y no veais la ilusion que me ha hecho, porque la adoro! La conocí en el DT de La Pareja Creativa, y es que es la bomba! Lo del scrap se le da de maravilla, y si no la conocias hasta ahora, puedes ver algunos de sus increibles trabajos en la entrada del reto.
Pero bueno,... lo que nos pidé es que utilicemos algo de nuestro material de scrap para crear el efecto de acuarela falsa sin utilizar acuarela. Y esto es lo que he hecho yo:
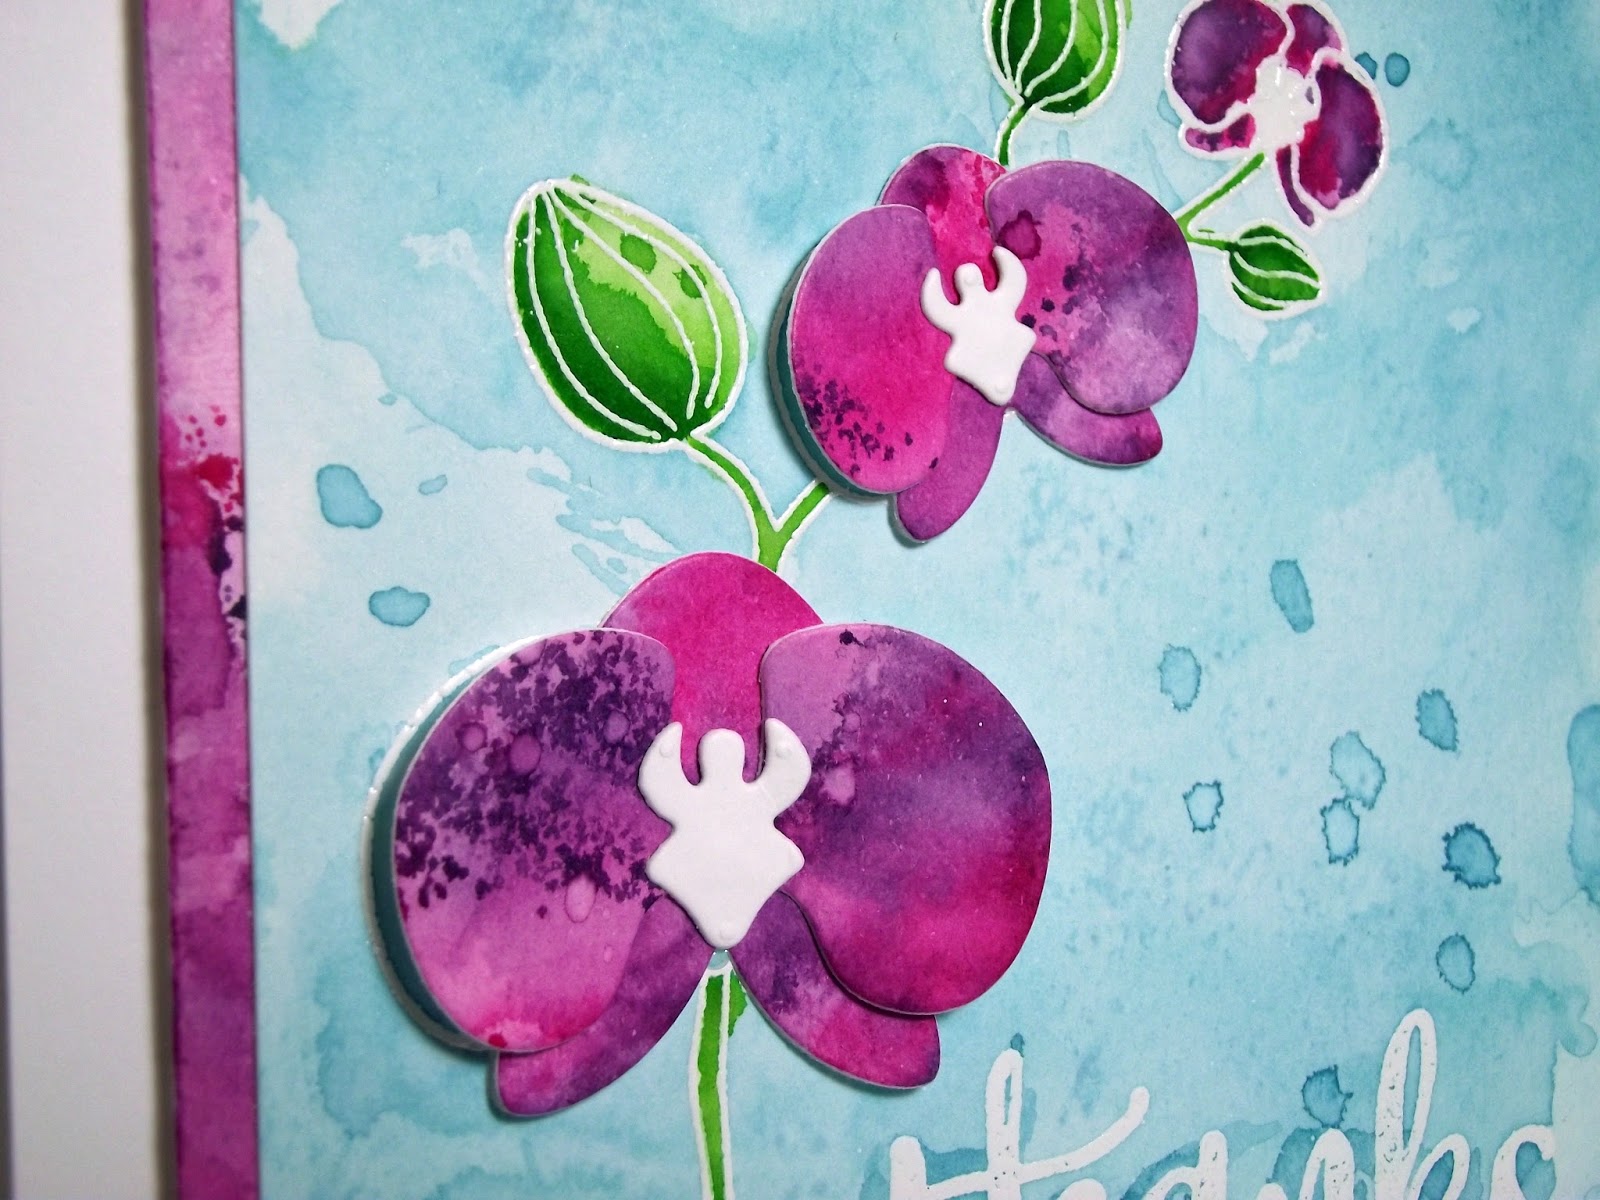
So I choose distress inks to create my card. I started by white embossing the "Orquideas" and the "thanks" stamps over watercolor paper. I covered the orquids with masking fluid and I let it dry. Then I added some Broken China distress ink to my craft mat, sprayed some water over it, and covered it with the watercolor paper. Then I dried it with the heat gun, and put it down over the ink again. And I repeated this a few times until I was happy with the end result.
On another piece of watercolor paper I used the same inking technique using Picked Raspberry and Dusty Concord distress inks. From this piece I die cut the orquids.
He utilizado tintas distress para crear mi tarjeta. Empecé embosando en blanco las "Orquideas" y el mensaje en papel de acuarela. Utilizando liquido de enmascarar tapé las partes de las orquideas que no queria que acabaran de color azul, y lo dejé secar. Para crear el fondo, añadí tinta Broken China sobre el plastico protector de mi mesa de trabajo, eché agua con el spray sobre ella, y entonces lo cubrí con el papel de acuarela. Lo sequé con la pistola de calor, y lo volvi a poner de nuevo sobre la tinta. Y repetí esto varias veces hasta que me gustaba el resultado final.
En otro papel de acuarela he utilizado la misma tecnica, pero esta vez utilizando Picked Raspberry y Dusty Concord. De este papel troquelé las orquideas.
I removed the masking fluid from the orquids, and colored the stem with Mowed Lawn distress ink, and colored the small orquid flower using the same inks as before.
This challenge was super fun, so I hope you join us, and stop by to see what the rest of the flowers created for you:
Quité el liquido de enmascarar de las orquideas, y coloreé el tallo con tinta distress Mowed Lawn, y también la flor de orquidea con las mismas tintas que antes.
Este reto ha sido super divertido la verdad, asi que espero que participeis, y pasaros por el blog para ver lo que han creado mis compis:
Thanks for stopping by and have a great weekend! x
¡Gracias por pasaros por aqui y a disfrutar del finde! Un besito!
Supplies:
Productos Utilizados:
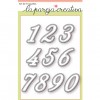
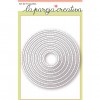
Yesterday I stopped by La Pareja Creativa with a few cards I made using some of the products from the latest release, specially the "Numeros Cosidos" die set.
I hope you stop by and let me know what you think, I would love to know which one is your favorite ;-) Here are a few sneak peeks:
Ayer me pasé por La Pareja Creativa con una tarjetas que hice utilizando algunos de los increibles nuevos productos del ultimo lanzamiento, especialmente los troqueles "Numeros Cosidos".
Espero que os animeis a echarles un vistazo y me encantaría saber cual es vuestra favorita ;-) Aqui os dejo un pequeño adelanto:
Thanks for stopping by! xx
¡Gracias por pasaros por aqui! Un besito!
Supplies:
Productos Utilizados:
Today it's my birthday!!!! I looove birthdays, the cake, the presents, the family and friends... everything that makes it special ;-) So this year, in collaboration with La Pareja Creativa, I'm having a giveaway over at my FB page, so I hope you stop by!
¡¡¡Hoy es mi cumple!!! Adoro los cumpleaños... la tarta, los regalos, la familia y los amigos... todo lo que hace que ese dia sea especial ;-) Asi que esta vez, en colaboracion con La Pareja Creativa, tengo un sorteo en mi página de FB, asi que pasaros y apuntaros!
This week I'll be sharing a lot of cards, so I hope to see you around here! Thanks for stopping by today and go have some cake! xx
Esta semana tengo bastantes tarjetas para compartir, asi que espero veros por aqui!
Gracias por pasaros por aqui hoy y comeros un trozo de tarta a mi salud! Besitos!
Hi everyone!
Today I have a special post for you, as it's a collaboration with Isa from Happy Cardmaking. We've known each other for a while, and we met in person last summer and she's such a nice person and an amazin cardmaker full of ideas. We "work" together at La Pareja Creativa, and she's asked some crafters to help her for a while with her blog, because she just had a gorgeous baby girl and she didn't want to take time off without any content on her blog. So that's why we are here, to help... or at least try ;-)
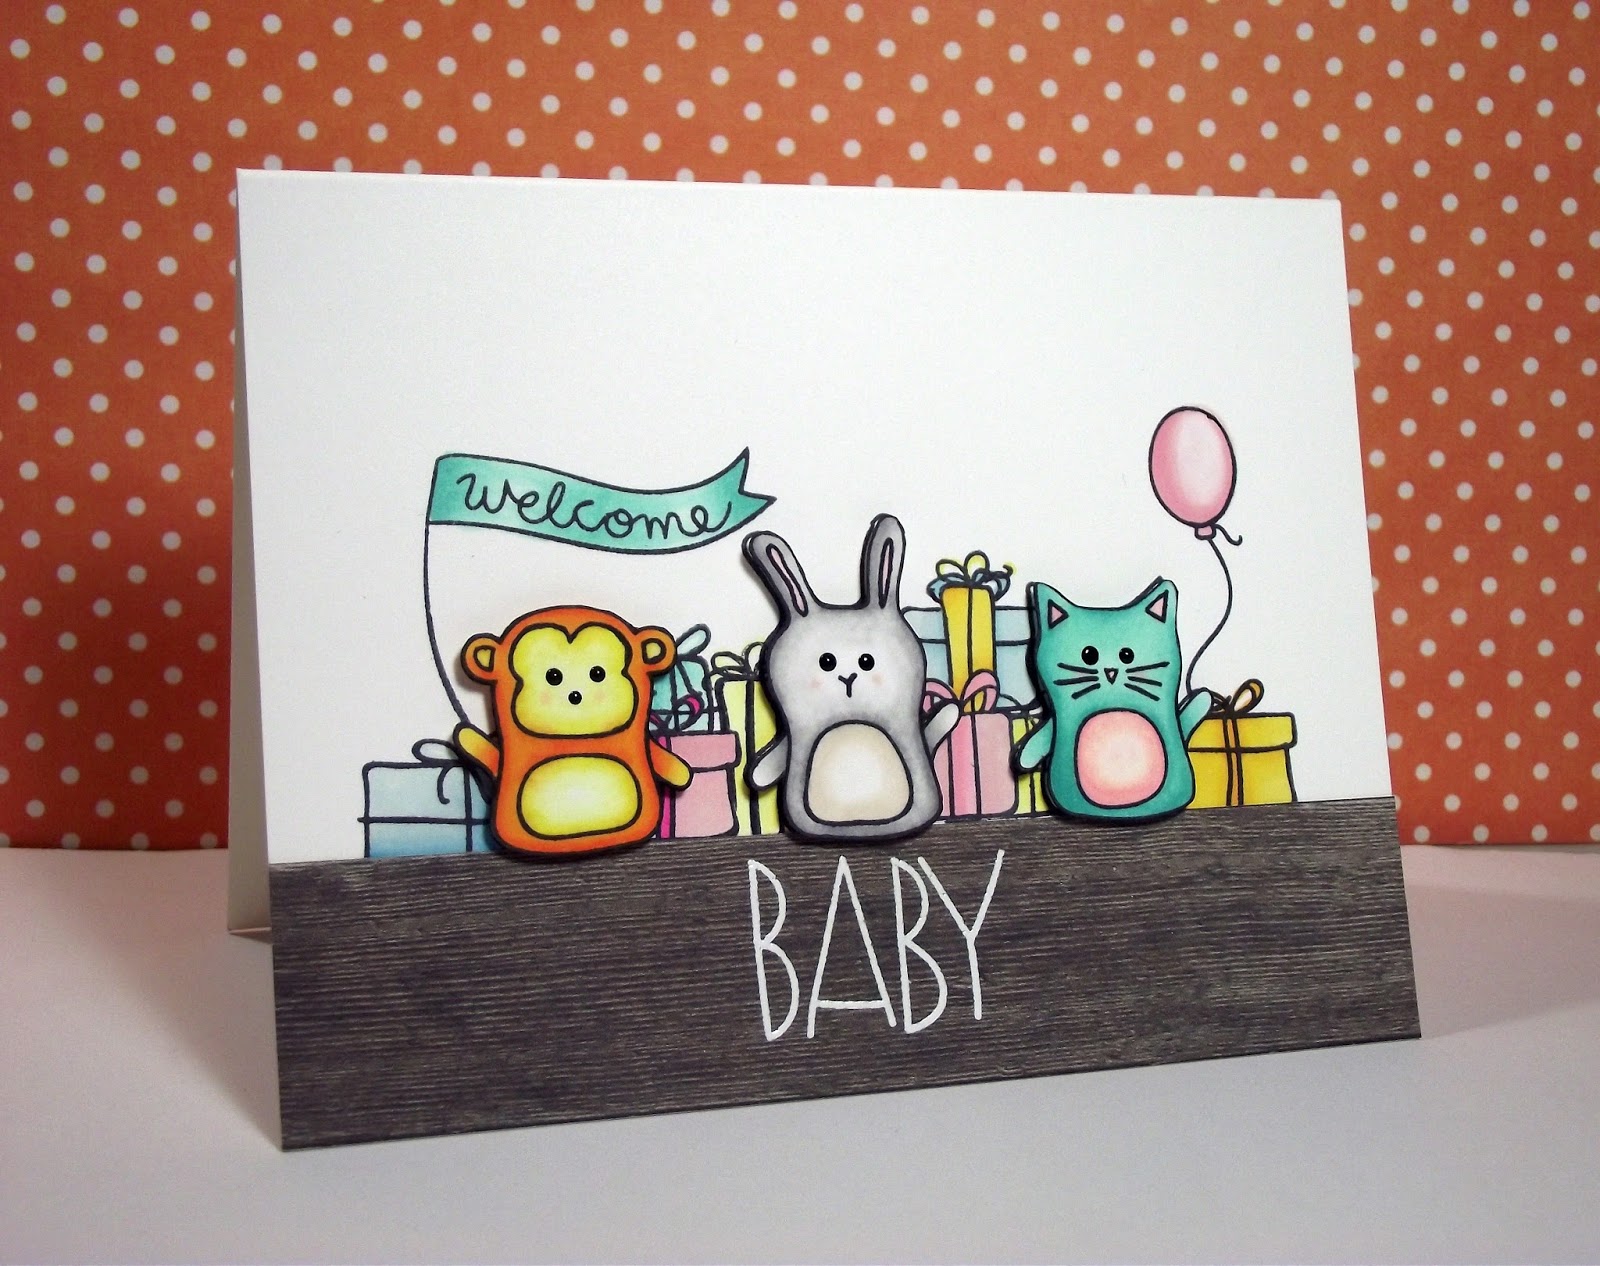
I decided to make a card for Miriam, her beautiful baby daughter:
¡Hola a tod@s!
Hoy os traigo una entrada muy especial, y es que es una colaboración con Isa de Happy Cardmaking. Hace bastante que nos conocemos ya, e incluso hemos llegado a conocernos en persona el verano pasado y es una bellisima persona, y una increible tarjetera que tiene un millon de ideas. A mi me deja loca! "Trabajamos" juntas en La Pareja Creativa, y como acaba de tener a su niña Miriam, ha pedido a varias scraperas que la echemos una mano para que el blog no se le quede muy parado. Asi que pare eso estamos aqui... para ayudar, o por lo menos intentarlo ;-)
Decidí hacer una tarjeta para darle la bienvenida a Miriam, su hija que es una preciosidad:
I started by coloring those cute animals from Simon Says Stamp a few days ago. I didn't want them to look like real animals, more like cuddly toys, so that's why the colors are a bit crazy :-)
Then I created the background stamping and masking lots fo presents, the banner and the balloon, that I colored using my alcohol markers.
I guess I wanted it to look like a table full of presents for the baby, so that's why I added the wood paper at the bottom, with the embossed "Baby".
Empecé esta tarjeta coloreando esos animalitos de Simon Says Stamp hace unos dias. No queria que parecieran animales de verdad, quería que fueran peluches, asi que por eso utilicé unos colores un poco locos :-)
Despues creé ese fondo estampando y enmascarando un monton de regalos, el banderin y el globo, que coloreé utilizando mis rotus de alcohol.
Mi intencion era que pareciera una mesa llena de regalos para el bebé, asi que por eso añadí el papel de madera con el "Baby" embosado.
I had a lot of fun coloring this card, and I hope Isa likes it when she gets it in the mail ;-)
I hope you stop by her blog to congratulate her and I can't wait to see who else will be stopping by!
Have a great day! x
Me lo he pasado bomba coloreando esta tarjeta, la verdad, y espero que a Isa le guste cuando la reciba por correo ;-)
Ahora pasate por su blog y dale la enhorabuena, no? Ya estoy deseando ver que otras invitadas se van a pasar por alli!
¡Que tengais un buen dia! Un besito!
Supplies:
Productos Utilizados: